
Pumpkins
In Kambarang, the season of birth on Wadandi Boodja (2025)
10/18/20255 min read

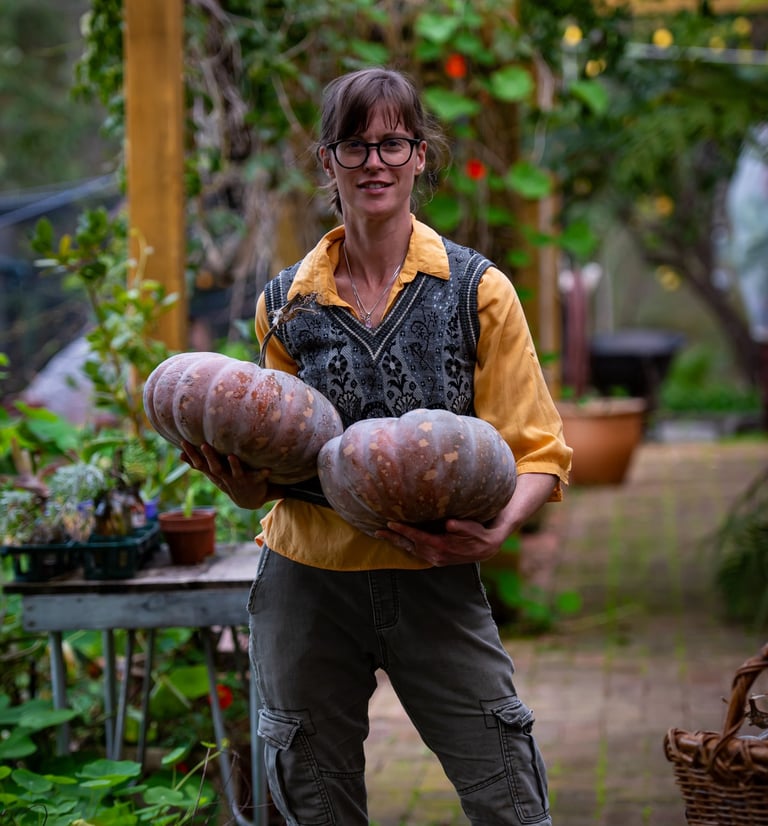
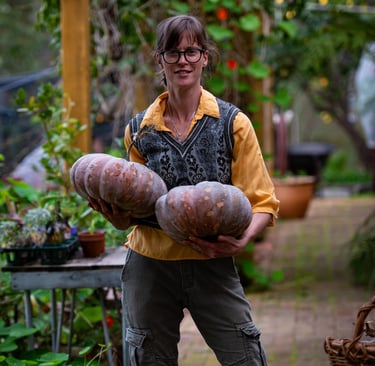
I love pumpkins. Their smooth round bottoms. How they store for a whole year until the next crop is ready. How my children actually enjoy the soup I make from them. There’s nothing quite like the satisfaction of your children happily eating something you’ve cooked that’s good for them, and that you grew yourself.
I used to make pumpkin soup the way my dad taught me. Or was it my mum? I can’t remember. Anyway, in my family of birth we peeled then cut the pumpkin into dozens of slices, then browned each slice in olive oil on both sides, before chucking in a pot with the sautéed onion and water to cook. It was a time-consuming process but made awesome soup. So awesome that once, when I was trusted with making the soup myself at around 12, I added milk as I blended it, not believing that such rich creamy soup as we usually had could be made without milk or cream. (Incidentally, my dad left the pot on the stove turned off for a little while – fine for a soup he assumed contained only vegetables – and it went off, due to the accidently added milk. I never forgot that lesson.)
Anway, thanks to Ottolenghi, I now know that with all that time-consuming frying we were creating the Maillard reaction – apparently the most widely practised chemical reaction in the world – to make that wonderful rich favour, the step before caramelisation.
I’ve been experimenting with making that good a flavour with a little less work, and I’ve found that roasting the whole pumpkin, plus an onion or two, and a sweet potato if I have it (all with their skin on) for a good long while until they are oozing sweet juices and are somewhat black outside, creates the same flavour profile. Once cool, I peel with my hands, pull apart, scoop out the seeds, and blob it all into the pot to cook with water, making sure I tip in all the sticky juices which have exuded onto the tray while cooking.
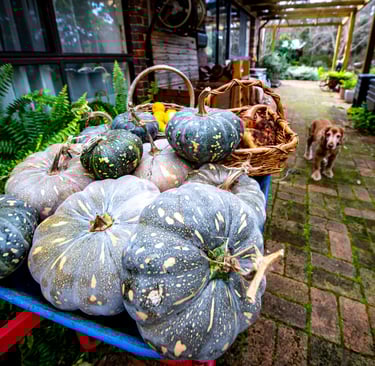
Before roasting the biggest bestest pumpkin from last summer, I cut a wedge out and collected the seeds, popping a few into the garden today for this summer’s crop. So satisfying. About as satisfying as dozens of children asking for your pumpkin soup when you’re on soup roster at school.
≈
I love this time of year – increasing light and energy, and so much growth – and it can also be a busy and sometimes stressful time in the garden as it feels there’s so much to do in preparation for the summer growing season.
The goal is to not let the feeling that there’s so much to do detract from the joy of doing it.
But I’ve made good progress – last week I did my summer planting plan. A little late but, you know, life. I made a simple garden bed map when I first started gardening here, adapted from a plan my mother made (what an honour and a privilege, to carry on a garden one’s forebearer started). It’s a quick way to think through the planting – trying not to plant the same vegetables in the same spots as last year (to reduce pest and disease issues, and also to move around the heavy feeders and the lighter feeders and the nitrogen fixers), and how the different types of watering (overhead sprays, drip line) work for different plant types. Do I stick to the plan? Rarely completely, but it’s still worth doing.
And I’ve been working hard in recent days planting corn, pumpkin, tomatoes, basil, zucchini and other beautiful summer veggies. All this warm season planting starts with a good batch of compost – made a few months ago with a hot composting process then cured to let the worms wiggle up to do their bit, and the microbial action really happen.
Want to see how I build a compost pile?

We used paper waste, kitchen food scraps, coffee grounds from cafes in town (Merchant and Maker has a coffee grounds bin out the back – get some whenever you like), water, chook poo-y pea straw from cleaning out the feathered ladies’ house, rakings from their yard, a little seaweed (not too much), a little ash from the fire (again not too much, and ensuring it hasn’t got wet which might leach out the valuable nutrients, like potassium), mulched up garden prunings, woodchips, horse manure, comfrey and borage to activate, and lots of old plants from the veggie garden, and weeds. I’m careful with weeds – ensuring they go in the centre of the pile so they get very hot, to kill the weed seeds.
Want to see how hot it got?
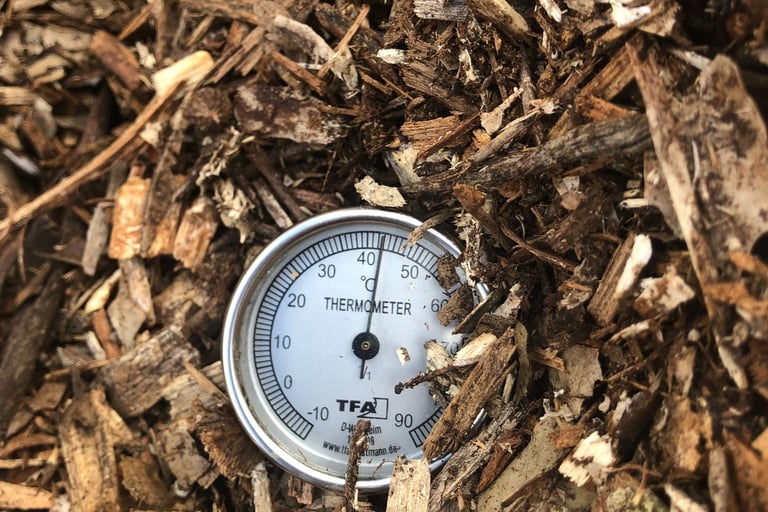
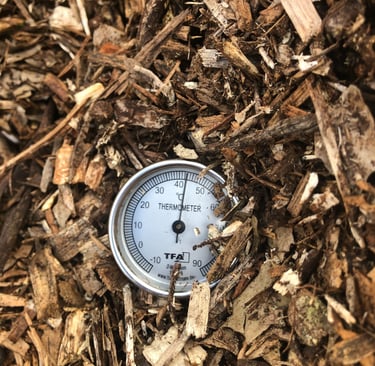
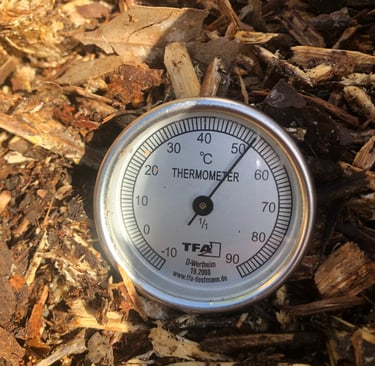
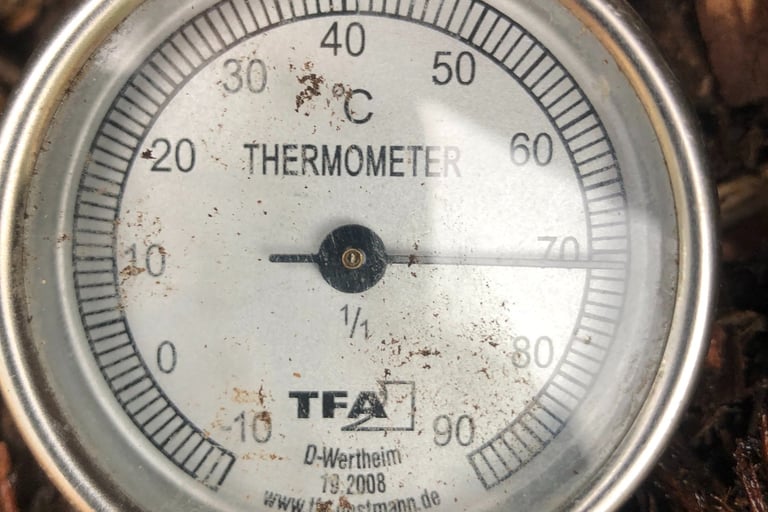

(I actually had to cool the pile down at this point - 70 degrees is a bit too hot.
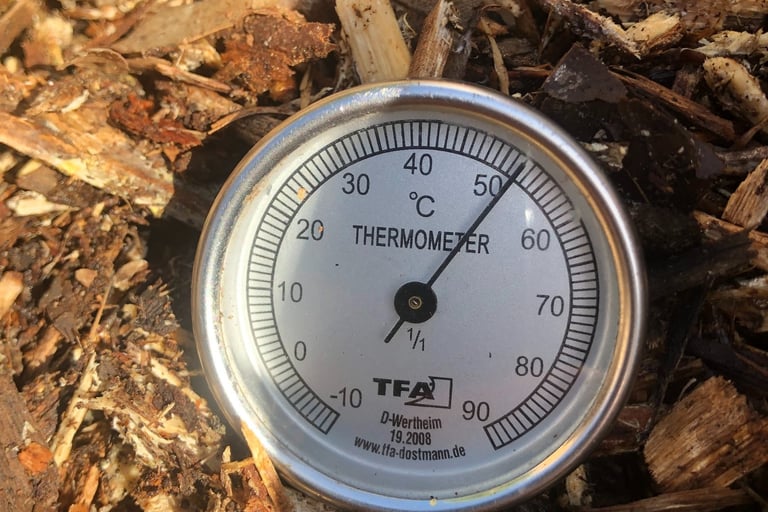
I also turn the pile after a month or so, once the temperature starts to drop, and ensure the outside parts come to the middle, and the middle parts to the outside. With the addition of air through turning and more water if needed, the temperature rises again, another opportunity to kill any weed seeds or pathogens.
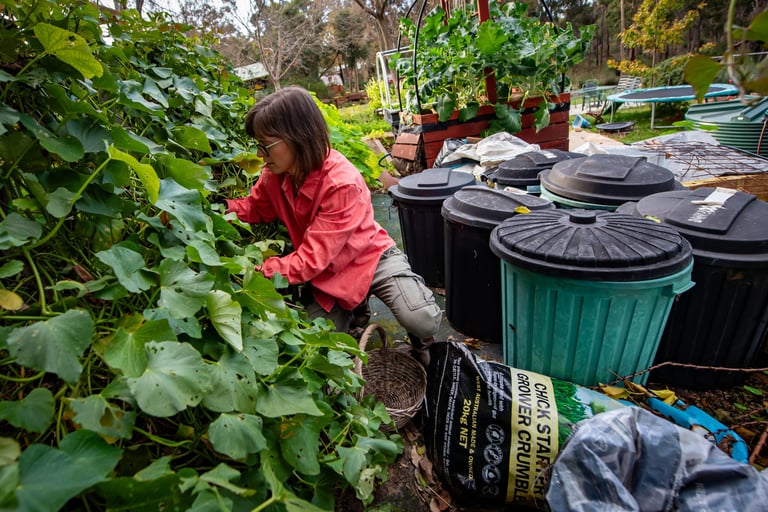
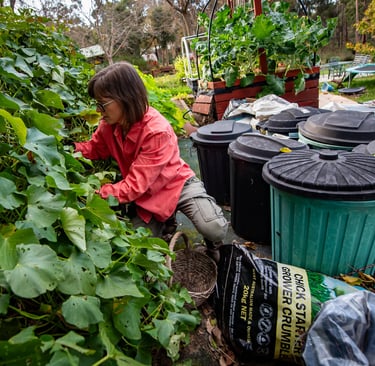
Gathering the materials can occur slowly – you can see my collecting bins in the photo below. But the build needs to occur quickly – I put it all together in one day to a volume of at least 1m by 1m by 1m. This reduces by more than half as it composts.
If you’ve always wanted to try hot composting but want some help, get in touch. I can vouch for it being one of the most satisfying processes in a gardener’s life. As a professional companion gardener, I can help bring everything together and you still get the satisfaction of doing it yourself. And experience the kind of learning that only occurs hands-on.
Then you can spread compost, love and pumpkins this summer.
Mother Nature Connection
Supporting people to grow food and to connect to themselves, each other, and nature
Grow
joanna@mothernatureconnection.com.au
© 2025. All rights reserved.